
How to change button color in Squarespace, and why
When you think about the elements that make your website work, buttons might not be the first thing that come to mind. But they are part of what guides people to buy, subscribe, donate, or simply learn more on your website. Learning how to change button color in Squarespace and using the different styles of buttons is a part of helping your website visitors get to where you want them to go.
In Squarespace, buttons are flexible, easy to style, and simple to customize. Without using code, you can go beyond the defaults the templates Squarespace offers and design custom buttons that match your brand and feel intentional. Let’s walk through how to take your buttons from “default” to “designed.”

Three types of buttons that make up the visual hierarchy, Primary, Secondary and Tertiary
Functions of Squarespace Button Types
Part of designing your buttons in Squarespace is creating a visual hierarchy of importance of different buttons. You may have noticed that Squarespace offers three different button types. Primary, Secondary and Tertiary. You may think that it only refers to making buttons more flexible by being able to have different button styles and colors available. But there’s more to it.
Each button type has a distinct function in guiding visitors through your site and is based on visual hierarchy.
Primary Button – Use primary buttons for your main calls-to-action. Use them for the most important steps you want users to take, such as “Book Now,” “Buy Now,” or “Subscribe.” These buttons are meant to stand out. Usually primary buttons are solid background buttons that match your branding and use a prominent color. Be sure to be consistent with their shape and color throughout your website so your important calls-to-action can be easily seen.
Secondary Button – Use secondary buttons for supporting or alternate actions. For example, next to a “Buy More” button you may want to have a “Learn More” or “View Details,” to give website visitors an alternative to do if they are not ready to take the plunge and buy. The secondary button is perfect for visitors who aren’t ready to commit but still want to engage. Style wise, secondary buttons often are outline buttons. They are always less prominent than primary buttons.
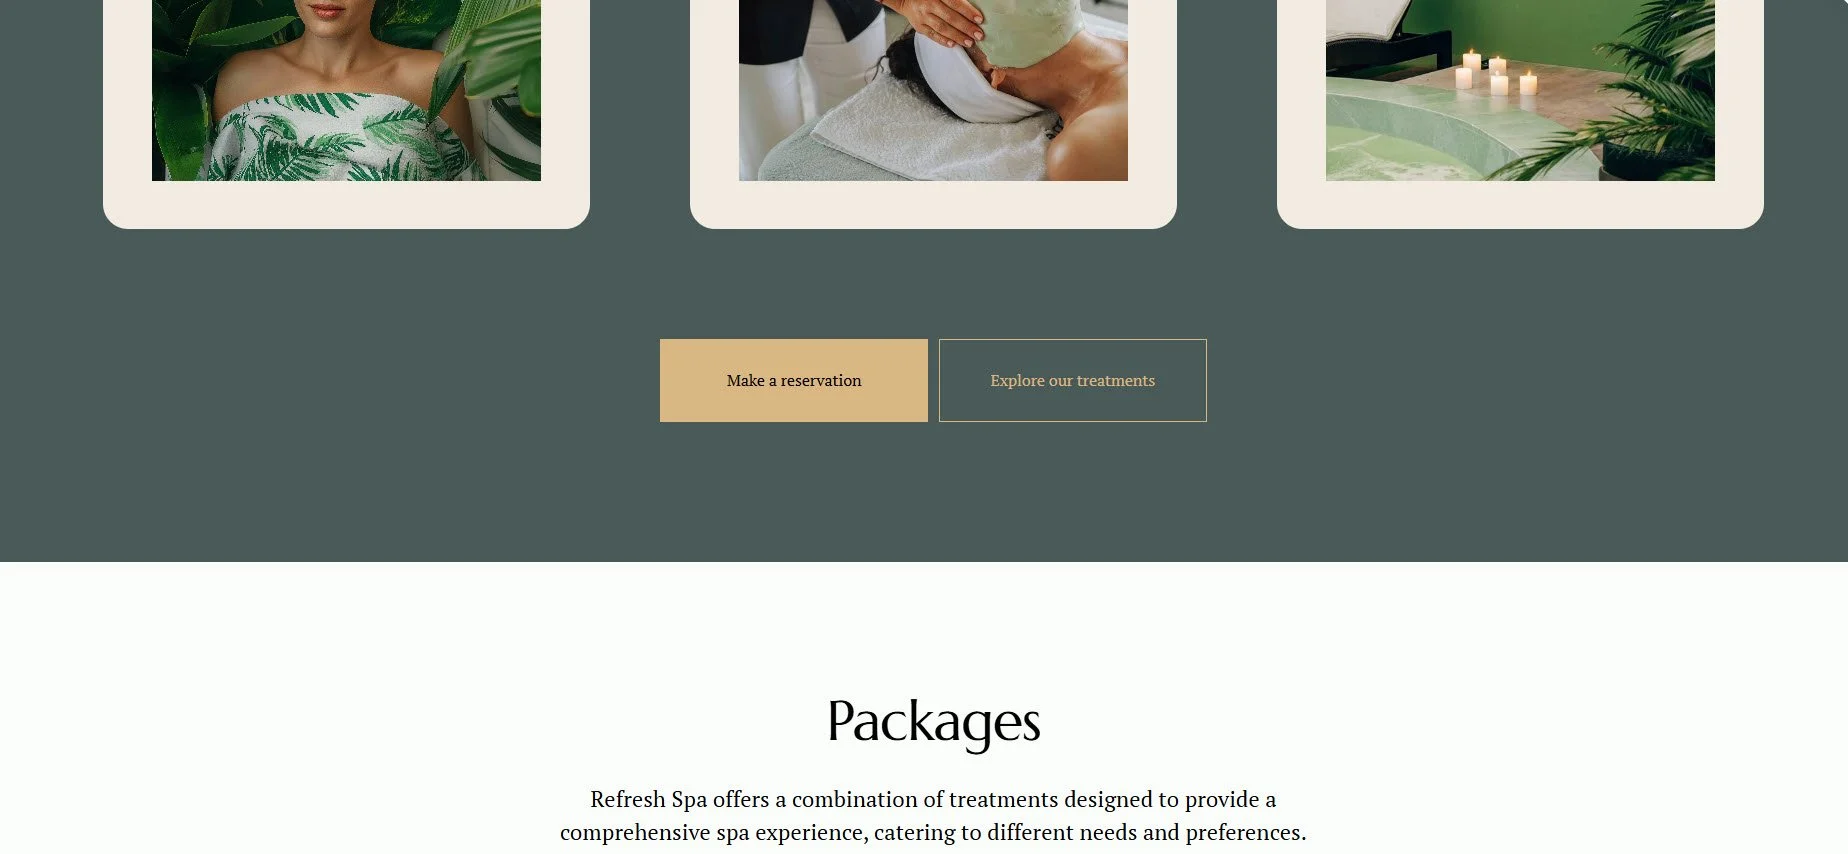
Example of the use of a primary button with a secondary button.
Tertiary Button – This is for low-priority actions that don’t need as much visual emphasis, such as “Back to Blog,” “Read FAQs, or “Cancel.” Tertiary buttons typically blend in more with the page design, so they don’t compete with Primary or Secondary buttons. Usually these buttons look like underlined links.
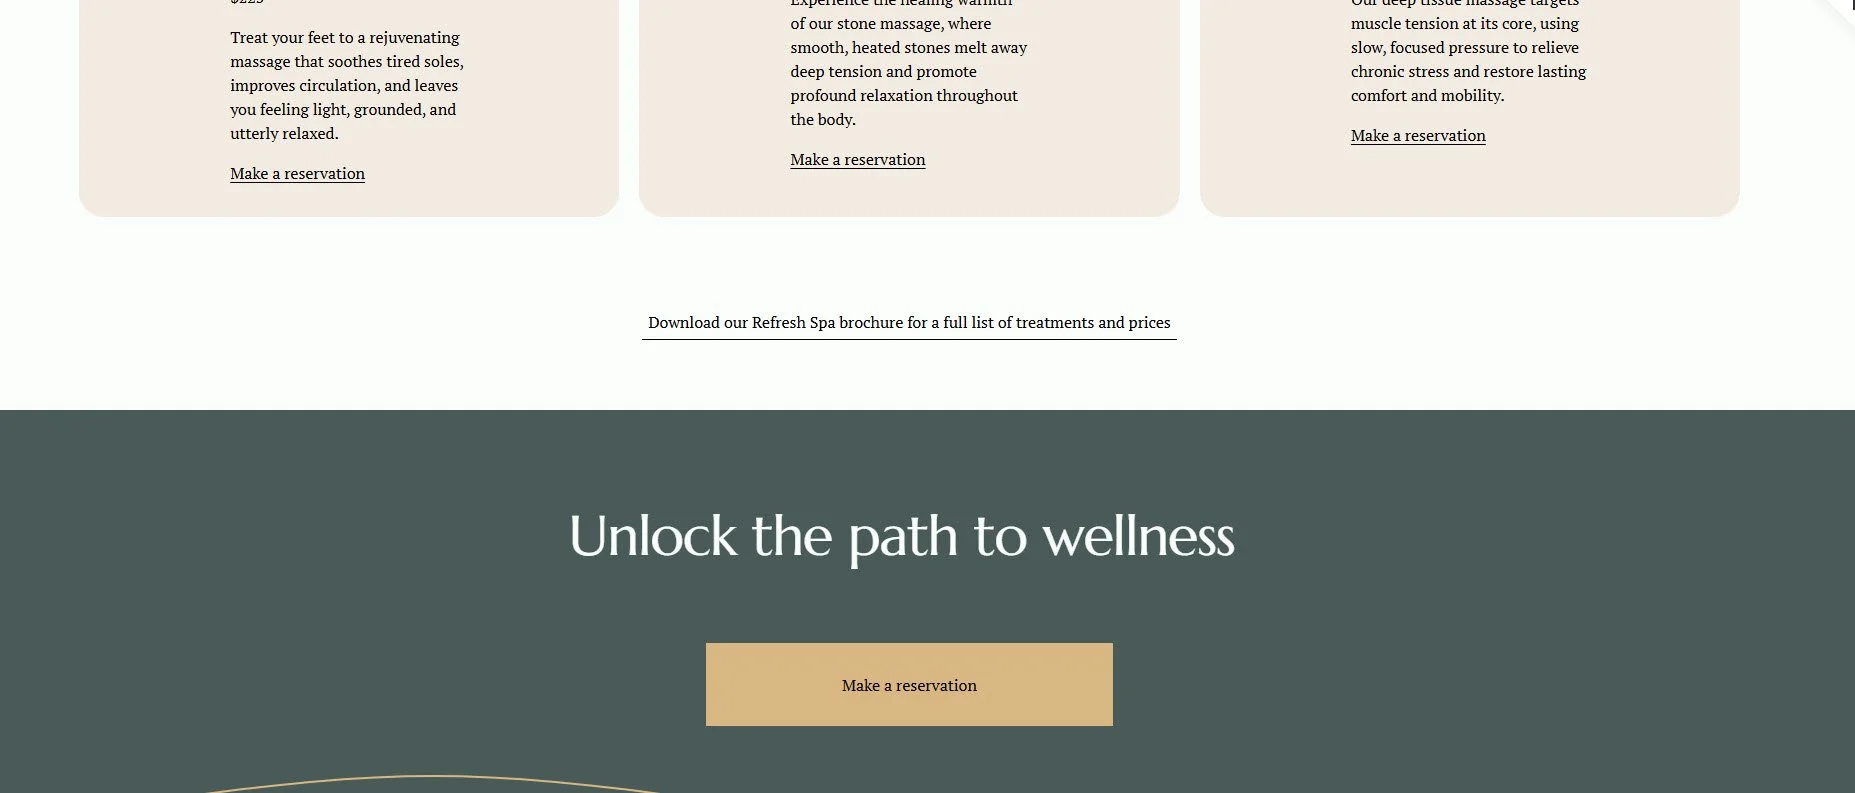
Example of a Tertiary Button (underline style) that does not compete with the Primary Button “Make a reservation.”
By creating a clear visual hierarchy using the three button types in your website, visitors will immediately know where to focus and which action is most import.
Something to keep in mind
You can choose which type of button you want to use in Fluid Engine sections and Classic Editor (for example, blog posts).
Buttons in auto layouts, newsletter blocks, donation blocks, form block submit buttons, checkout buttons and add to cart buttons automatically inherit the primary button’s style.
Shaping and Styling Buttons
Now that we have the different types of buttons and know something of visual hierarchy, to create your button design, head into Site Styles → Buttons (changes made in Site Styles are made throughout the website—global). Click on the Paint Brush icon on the top right to access Site Styles. Then scroll down to click on Buttons. This is where you control how your buttons look.
When you click on Buttons a panel comes up and you can choose a predesigned Button Pack. Click on Customize and you’ll be able to view all of the Button Packs and choose one or go into the Primary, Secondary and Tertiary Buttons and customize them.
Here, you can adjust:
• Fonts (font family, font size, and letter spacing)
• Shape (sharp corners, rounded edges, or pill-style ovals, and custom corners)
• Fill or No Fill (solid background or outline)
• Padding size.
How to shape and style buttons in Squarespace.
Changing Button Color in Squarespace
Colors are set under Site Styles → Colors. Because Squarespace works with section-based color themes, your buttons automatically adjust depending on the background color. That means you can have a dark button in one section and a light button in another without extra work and maintains color consistency throughout your website.
The color scheme of your template creates the colors of the buttons. If you wish to change the color of your buttons. You can go to the Styles panel (click on the Paint Brush icon) and click on Color. You’ll see the Section color themes panel on the right and on the left you’ll notice to the left the name of the color scheme the section is using. Click on the color theme and scroll down to the Button section. There you can change the background colors and text colors of the Primary, Secondary and Tertiary buttons by clicking on the color circle and using either one of the palette colors or a custom color.
How to change button colors in Squarespace.
How to add a button in Squarespace
Now that we’ve created your buttons. Let’s add one in a Fluid Engine section. In Edit mode, simply click on Add Block and choose Button. Click on the button and a bar will appear where you can choose what type of button you want: Primary, Secondary or Tertiary.
Change Button Text/Attach a Link
Need to change button text in Squarespace? That part’s easy—in Squarespace 7.1 in Fluid Engine sections in Edit mode you simply click on the button. Click on the Pencil icon to edit the button. This will bring up a panel. Under Content you can enter the text you want on the button, and you can also create a link for the button. The styling (font, size, weight) comes from your global button settings that you made in Site Styles, so everything stays consistent.
What is a Fit or Fill Button Style?
Next to Content on the panel we just worked on, you’ll a Design section. Click on it. You’ll see that you’re also able to change the type of button there and there’s also a choice between something called Fit or Fill. These are two main style options for buttons.
Fit Style (Consistency)
If you want consistency throughout your website, Fit is the style you want. A Fit style button adjusts to the width of your text and stays consistent with the padding you’ve established in Style Settings. Every button looks uniform and polished.
A Fit style button is also easier to control in mobile and helps prevent text wrapping to a second line. The button in Fit sits inside a container (instead of filling it) you can extend the Button Block out horizontally (and also vertically)and give your text more room to expand on mobile.
To align your button in Fit you can align it horizontally to center, right or left, and vertically to center, top and bottom within its container.
Fill Style (Flexibility)
If you want more flexibility in the height and width of a button, Fill may be for you. Fill stretches the button to fill its entire container, which you can make larger or smaller. This style is perfect when you want to create a big, attention-grabbing call-to-action button, or reasons for design purposes. Depending on length of your text, however, you may have trouble with text wrapping into two lines on mobile. This is easy enough to fix by making the button larger on mobile. It is also harder to keep your buttons consistent in size using Fill if you have a lot of primary buttons.
To align Fill style buttons simply drag into place.
Differences between fit and fill buttons and how to use them.
Wrapping it Up
At the end of the day, buttons are small but can play a huge part in guiding your website visitors where you want them. The many customizations that Squarespace offers without code, gives you a way of creating a visual hierarchy, consistency from page to page and the ability to use your own branding and style. The beauty is that even though there are many customizations you can make with Squarespace you can easily learn how to change button color and style, update text, and choose from multiple Squarespace button styles to do this.
Treat your buttons with care—they might be small, but they’re one of the hardest-working design elements on your entire site!
Please Share on Pinterest!
